 Build faster with AI — Get started with the Nium MCP Server
Connect Claude Desktop to Nium MCP server
With the Nium Model Context Protocol (MCP) Server, you can connect external AI tools and applications to your Nium Sandbox account. In this tutorial, you will configure the Nium MCP Server to connect to Claude Desktop. After you have successfully integrated Claude Desktop with the MCP server, you will instruct Claude to run a Sandbox workflow — creating a customer, completing KYC, and sending a payout.
Before you begin
-
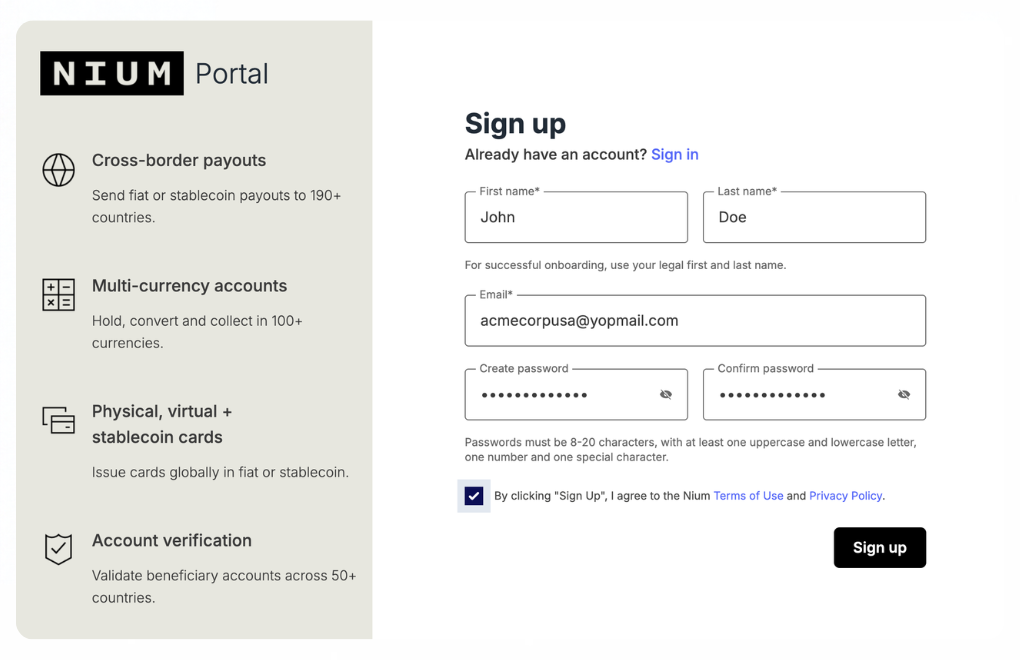
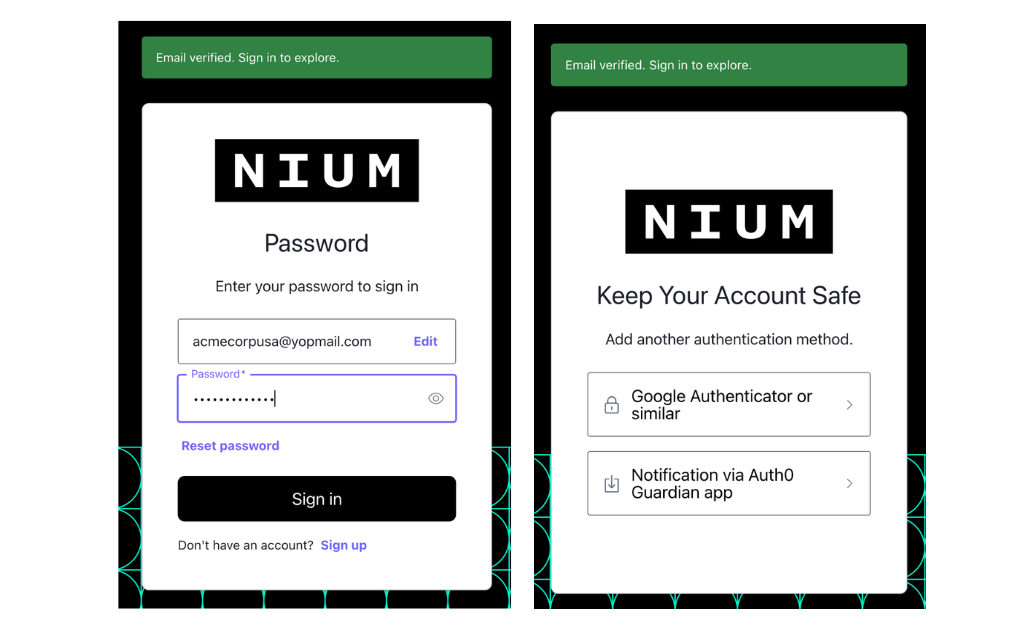
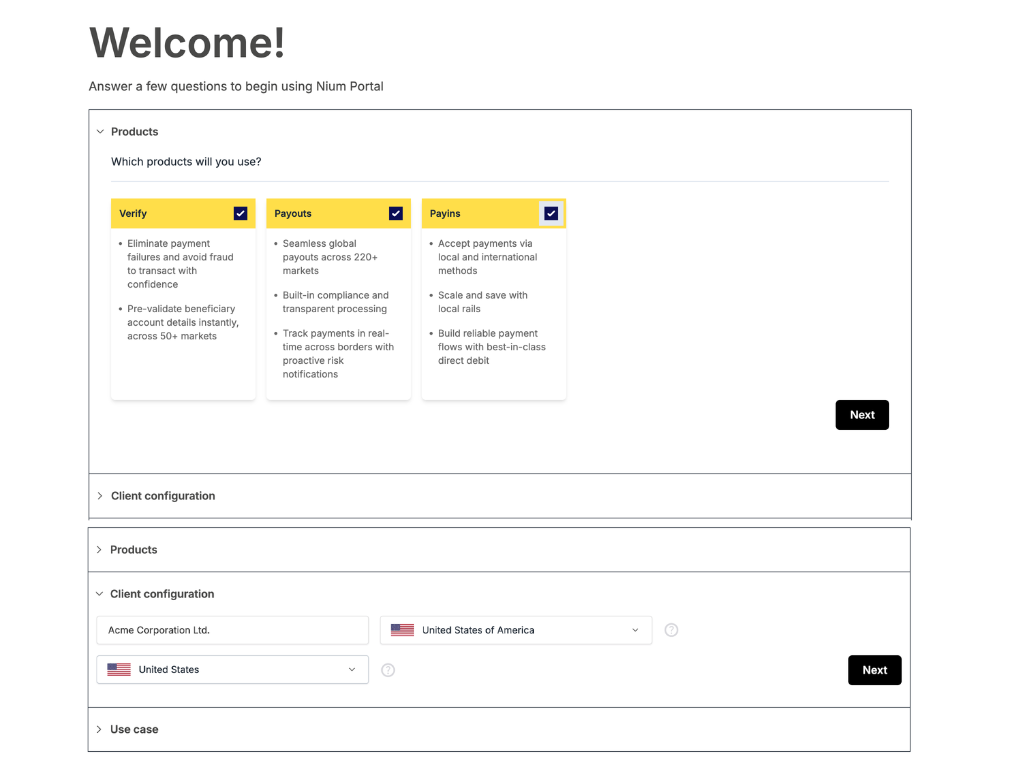
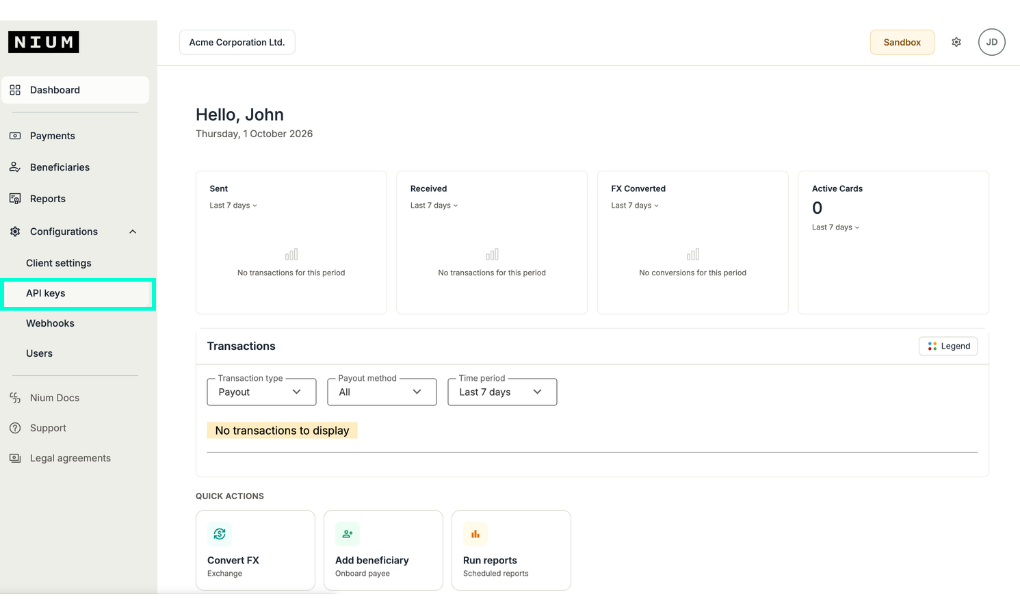
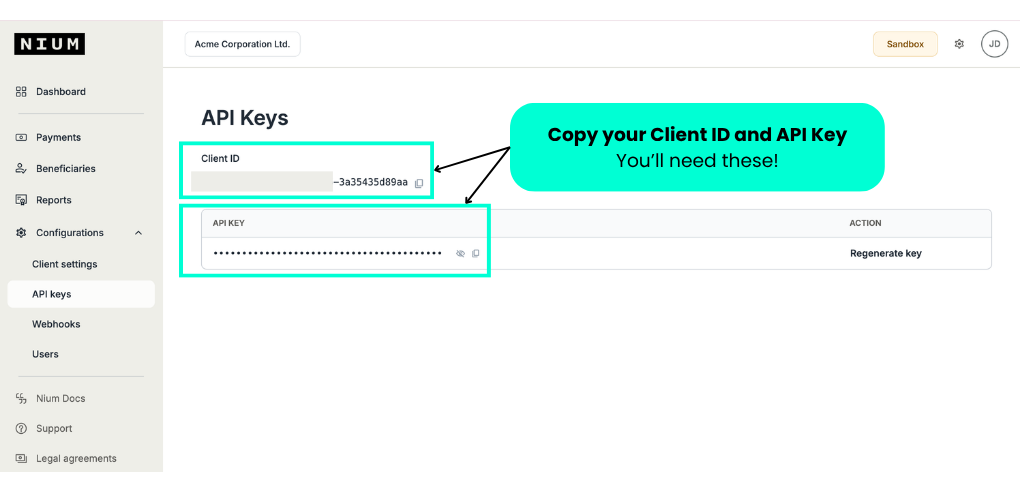
Have a Nium Sandbox account and an API key. Sign in to Nium Portal, then go to Settings → API Keys and copy your API Key.
 note
noteYou now have a Nium Platform
Client ID. A Platform is not licensed to transfer money but needs to offer payment services to its customers.- Client onboarding: Nium onboards the Platform as a
Client. - Customer onboarding: Nium onboards the Platform's underlying customer as a
Customer.
- Client onboarding: Nium onboards the Platform as a
-
Install Claude Desktop for your operating system.
The Nium MCP Server currently runs against your Sandbox account. Email developers@nium.com to register interest in production support.
Connect Claude Desktop to the Nium MCP server
Claude Desktop does not natively support remote HTTP MCP servers. This tutorial uses mcp-remote as a local bridge — it proxies requests from Claude Desktop to the Nium Sandbox server on your behalf.
-
Open Claude Desktop.
-
Edit the configuration file. You can do either of the following:
-
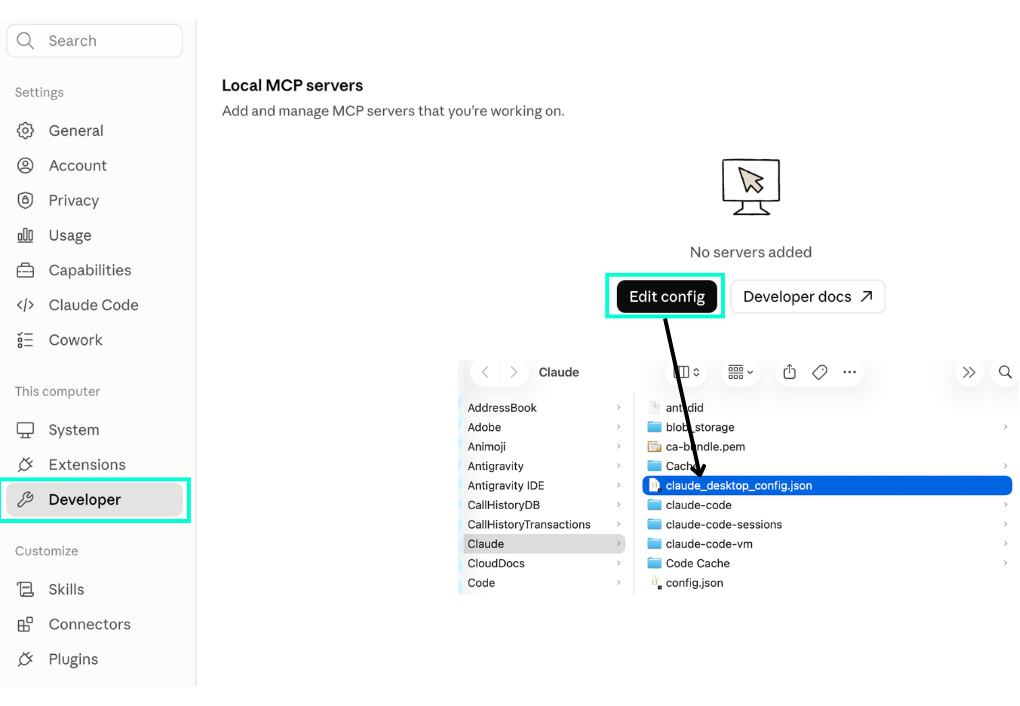
In Claude Desktop, select Settings > Developer > Edit Config.
-
In your file system, go to
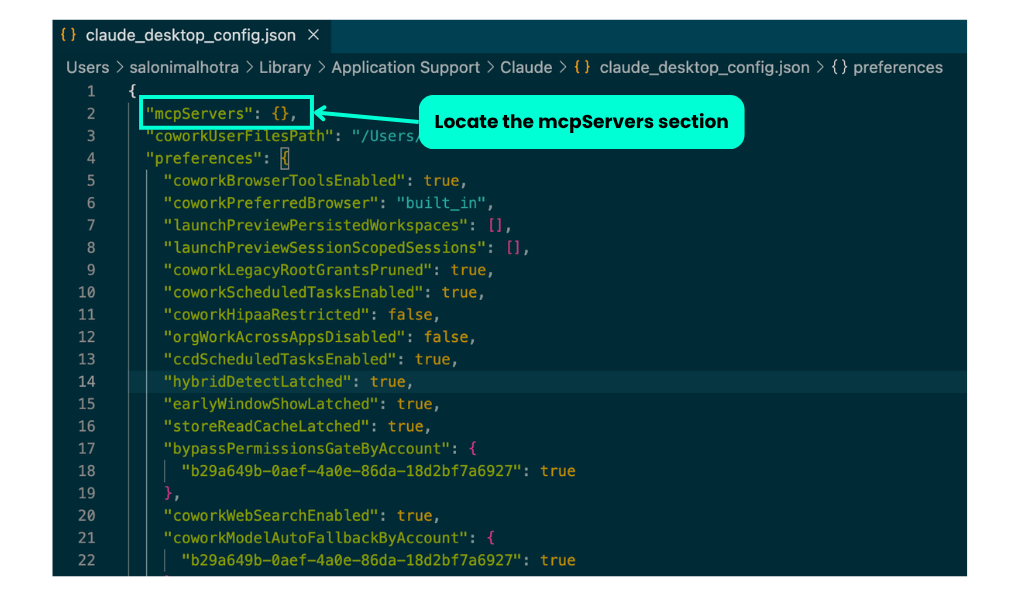
claude_desktop_config.jsonand open the file. For example:- On macOS:
~/Library/Application Support/Claude/claude_desktop_config.json. - On Windows:
%APPDATA%\Claude\claude_desktop_config.json.
- On macOS:
-
-
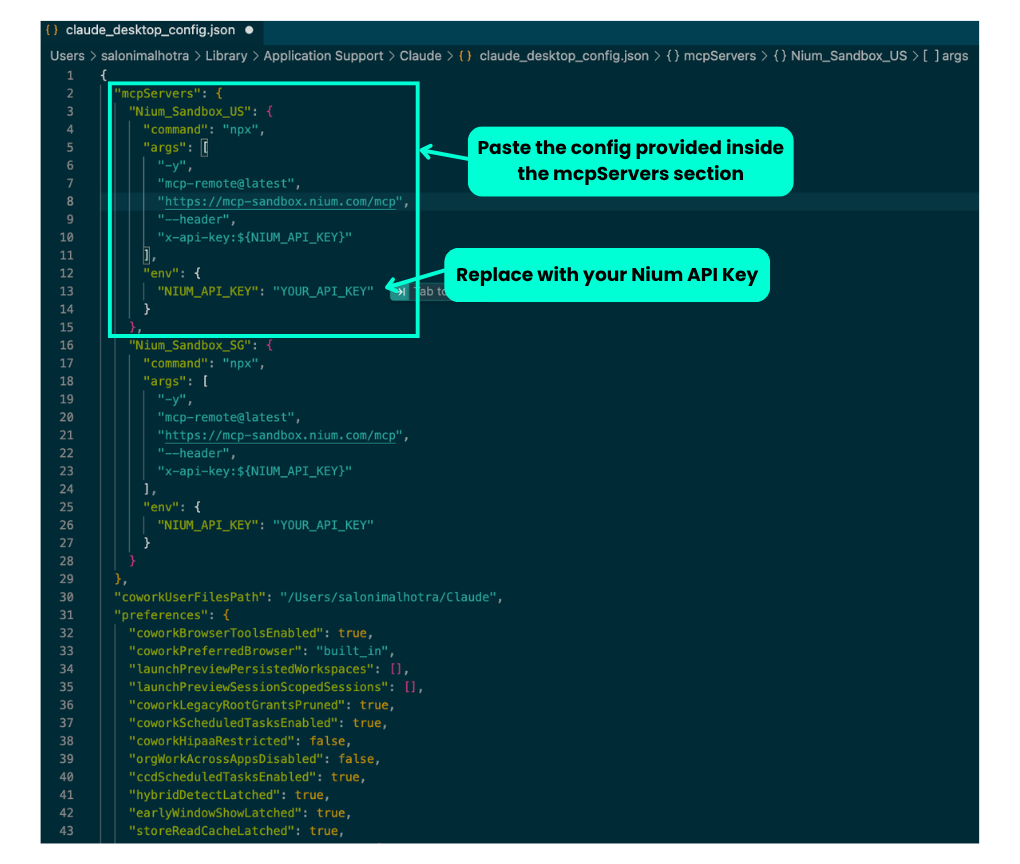
Add the following entry for the Nium MCP server, replacing
your_api_keywith the API key you copied in Before you begin:{
"mcpServers": {
"Nium_Sandbox": {
"command": "npx",
"args": [
"-y",
"mcp-remote",
"https://mcp-sandbox.nium.com/mcp",
"--header",
"x-api-key:${NIUM_API_KEY}"
],
"env": {
"NIUM_API_KEY": "your_api_key"
}
}
}
} warning
x-api-key:${NIUM_API_KEY}— no space around the colon. If the header value has spaces, put them in theenvvalue, not inline. -
Save the configuration file, then fully quit and relaunch Claude Desktop. Closing the window is not enough.
-
Go to Settings > Developer and confirm Nium_Sandbox is listed with a connected status.
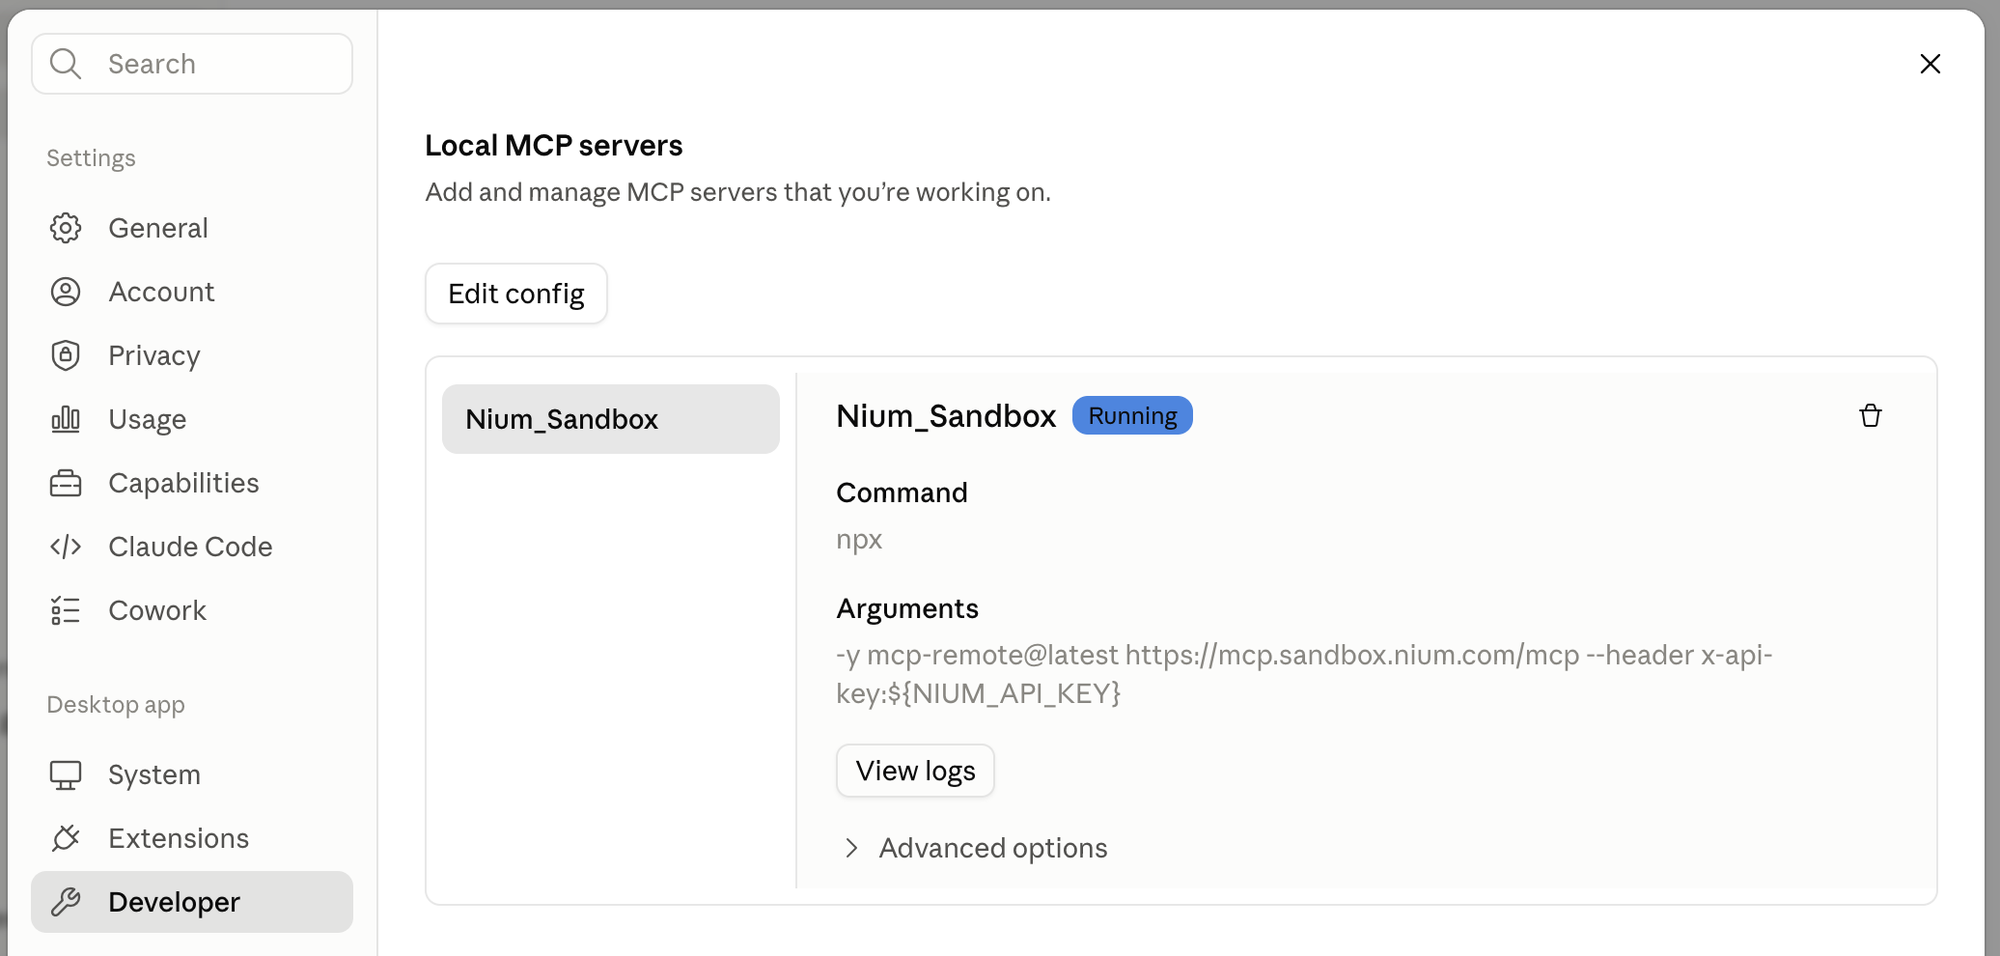
Unlike MCP servers that use OAuth, the Nium MCP Server authenticates with the API key in your config — you should not see a browser window open on first connect.
If you have Nium accounts in multiple regions, add an MCP server for each one. When asking Claude a question, simply mention the region (for example, "US" or "Singapore"), and Claude will automatically use the correct Nium MCP server—no need to switch configurations manually.
Example:
Show me the payout requirements for a US beneficiary.
What are the supported payout methods in Singapore?
Claude will route the request to the appropriate MCP server automatically.
You're responsible for guarding against prompt injection when you use these tools. Exercise extreme caution, or use MCP tools only on Nium objects you trust.
Test the connection
Now that you've connected Claude Desktop to the Nium MCP Server, test the connection with a prompt:
-
In the chat text box, type:
Which tools are available in Nium MCP? -
Press Enter or select Send.
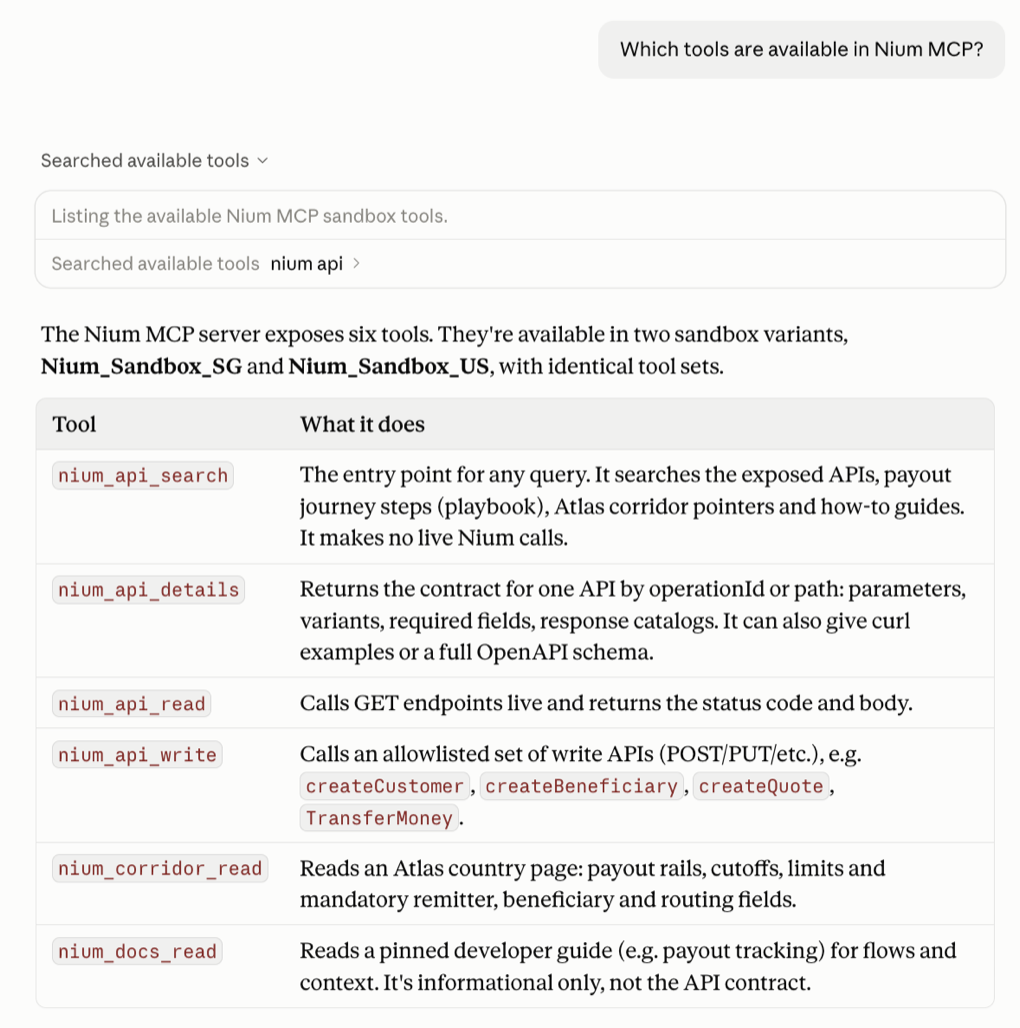
Claude should list the available Nium MCP tools, explain what each tool does, and indicate which tool(s) it used to generate the response.
Run a Sandbox workflow
Now, ask Claude to create a customer in your Nium Sandbox, complete their KYC, add a beneficiary, fund the wallet, and send a payout.
-
In the chat text box, type:
Create a corporate customer in my Nium Sandbox called Meridian Logistics, complete their KYC, add a USD beneficiary with routing number 021000021 and account 12345678, fund the wallet with 5,000 GBP, and send a 1,000 GBP payout. -
Press Enter or select Send.
-
If you set
nium_api_writeto Needs approval, Claude will ask for permission before each write action. Review what Claude is about to do, then select Allow once or Always allow.
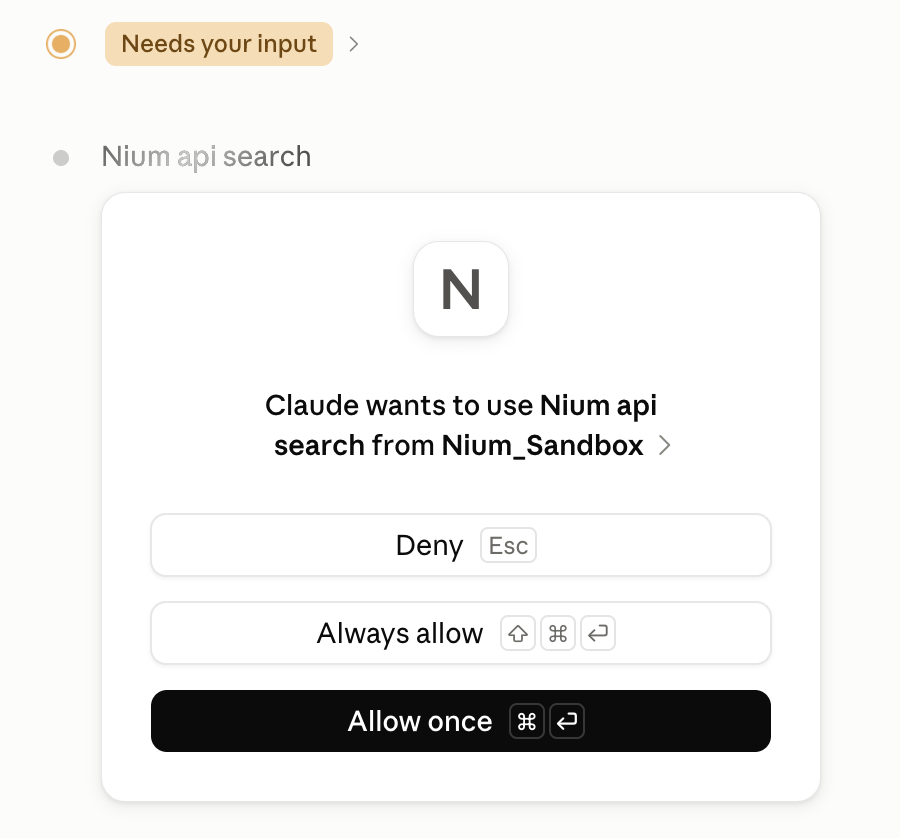
After each step completes, Claude reports back the customer hash, beneficiary hash, and payout status from your Sandbox account.
Next steps
- See the full list of Tools available in every session.
- Running into a setup or connection issue, or have a general question? See Troubleshooting and FAQ.